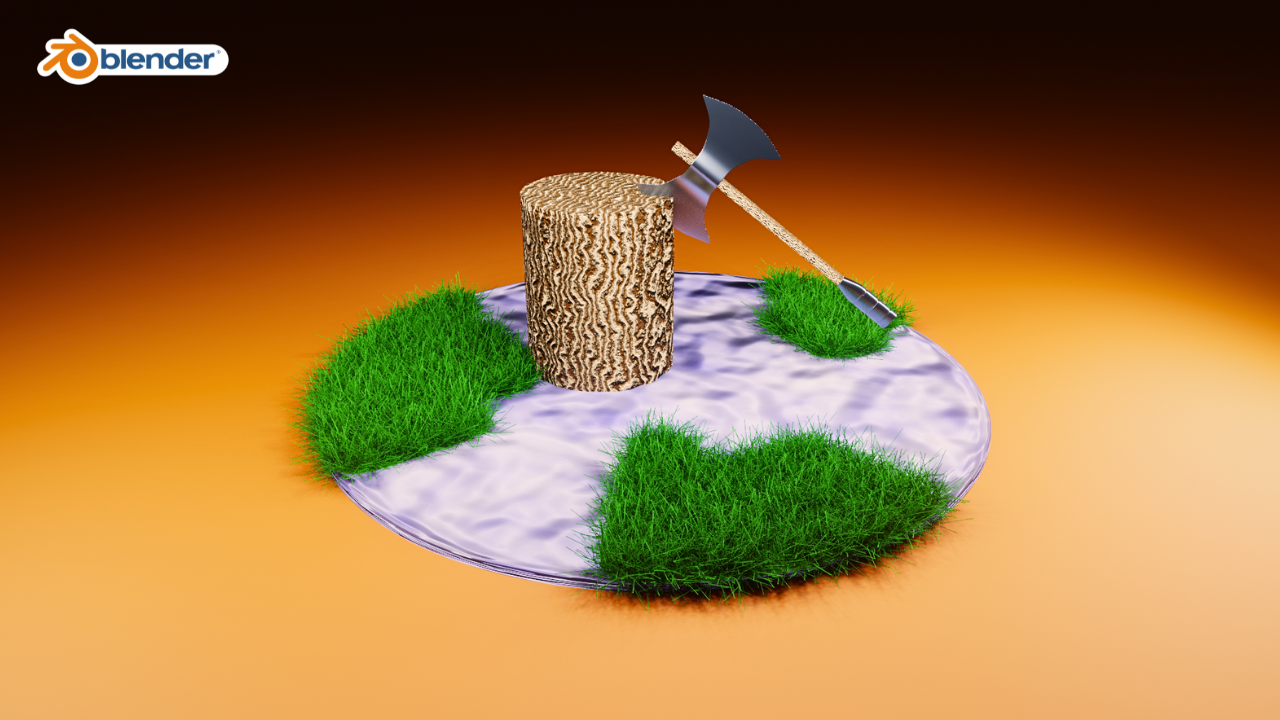
Creating a 3D axe concept art involves several steps, and I’ll provide you with a basic guide to get started using Blender. Keep in mind that this is a simplified process, and you can customize and refine the details based on your preferences. Additionally, make sure you have Blender installed on your computer before you begin.
Step-by-Step Guide:
Step 1: Launch Blender
Open Blender and start a new project.
Step 2: Set Up the Scene
- Delete the default cube by selecting it and pressing
XorDelete. - Add a plane by pressing
Shift + Aand selecting “Mesh” -> “Plane.” This will serve as the ground.
Step 3: Modeling the Axe
- Add a cylinder for the axe handle:
Shift + A-> “Mesh” -> “Cylinder.” Adjust its size and shape in the properties panel. - Add another cylinder for the axe head and scale it appropriately.
- Combine the handle and head by joining them: select both objects, press
Ctrl + J, then pressTabto enter Edit Mode, select the vertices where they connect, and pressFto create a face.
Step 4: Sculpting (Optional)
- Switch to Sculpt Mode by selecting the Sculpting workspace at the top of the screen.
- Use brushes like “Draw,” “Clay,” or “Crease” to shape and add details to your axe.
- Adjust the brush size and strength as needed.
Step 5: UV Unwrapping (Optional)
- If you want to add textures, UV unwrap your model. Switch to Edit Mode (
Tab), select all vertices (A), and pressUto unwrap. Adjust the UV layout in the UV Editing workspace.
Step 6: Materials
- Switch to the Shading workspace.
- Create new materials for the handle and head. Adjust the color, roughness, and other properties.
- You can use textures for added realism.
Step 7: Lighting
- Switch to the Layout workspace.
- Add lights to illuminate your scene. Position them for dramatic effects if desired.
Step 8: Rendering
- Set up your camera by pressing
Numpad 0to enter Camera View and adjust the position. - Go to the Render properties tab and choose your render settings.
- Press
F12to render your scene.
Step 9: Post-Processing (Optional)
- After rendering, you can further enhance your image in the Compositing workspace by adding effects, adjusting colors, or using filters.
Step 10: Save and Export
- Save your Blender project (
File->Save). - Export your 3D model or render as an image or animation.
This is a basic guide to creating a 3D axe concept art in Blender. Feel free to experiment with different tools, techniques, and details to make your axe unique. Additionally, there are numerous Blender tutorials online that can provide more in-depth guidance on specific aspects of 3D modeling and rendering.
