Certainly! Below are step-by-step instructions to create a simple well in Blender with subdivision-ready geometry:
- Add a Cylinder: Start by opening Blender and deleting the default cube (press X or Delete key). Then, go to Add > Mesh > Cylinder. In the Operator box (bottom left corner of the viewport), adjust the parameters to set the desired size and resolution for the cylinder.
- Edit Mode: Enter Edit Mode by pressing Tab. Select the top face of the cylinder and press E to extrude it downwards. This creates the inner well structure. You can adjust the height according to your preference.
- Create the Well Structure: While still in Edit Mode, select the outer rim of the cylinder and scale it slightly inward (press S then Shift + Z to scale on all axes except Z). This creates the thickness of the well walls.
- Add Detail: To make the well look more realistic, you can add details such as stones or bricks. Select faces on the outer surface of the well and use the Inset tool (press I) to create inset faces. Extrude these inset faces slightly inward to create the appearance of individual stones or bricks.
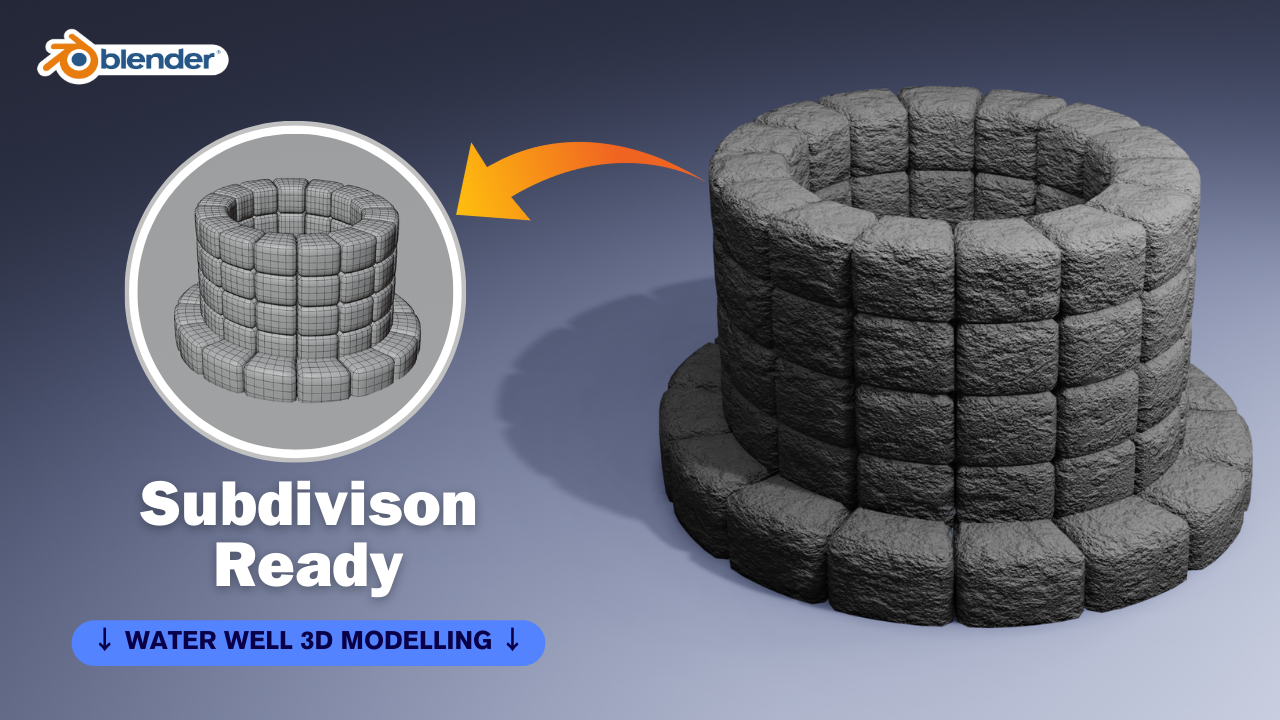
- Subdivision Surface Modifier: With the well selected, add a Subdivision Surface modifier. Go to the Modifier Properties tab (wrench icon) and click on “Add Modifier” > “Subdivision Surface.” Adjust the subdivision levels to your liking. This will smooth out the geometry.
- Texture the Well: You can apply textures to the well to give it a more realistic appearance. You can either use Blender’s built-in textures or import your own. To apply a texture, go to the Materials Properties tab (sphere icon), click “New” to create a new material, and then add a texture in the “Base Color” slot.
- Create the Top Cover: To create a simple top cover for the well, you can add a cylinder, scale it to the appropriate size, and position it over the well opening. You can add additional details such as a handle or rope.
- Final Touches: Add any additional details you desire, such as a bucket hanging from the top cover or vegetation around the well.
- Lighting and Rendering: Set up your scene with appropriate lighting and camera angles. You can use Blender’s built-in lighting presets or add your own lights. Once you’re satisfied with the setup, render the scene by clicking on the “Render” button or pressing F12.
That’s it! You now have a 3D well model with subdivision-ready geometry in Blender. Feel free to customize and add more details to make it suit your project’s needs.
