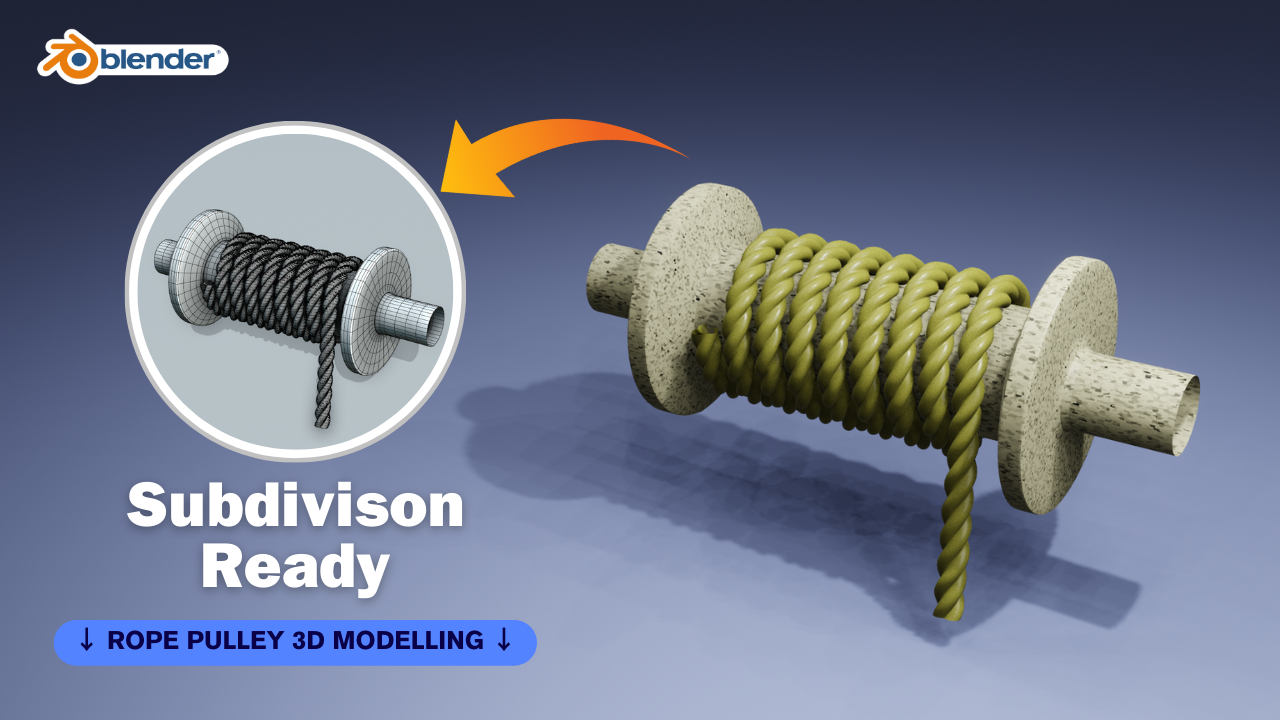
Creating a rope and pulley system in Blender involves several steps. Here’s a basic guide to help you get started:
- Create the Pulley:
- Start by creating a cylinder mesh in Blender. You can do this by pressing Shift + A and selecting Mesh > Cylinder.
- Adjust the size and shape of the cylinder to match the pulley you want.
- Add any additional details or textures you want for realism.
- Create the Rope:
- There are several ways to create a rope-like object in Blender. One common method is to use a bezier curve.
- Press Shift + A and select Curve > Bezier to create a bezier curve.
- Enter Edit Mode (Tab) and manipulate the curve to the desired shape. You can add more points and adjust handles to shape it like a rope.
- Add Thickness to the Rope:
- With the bezier curve selected, go to the Object Data Properties tab (the green triangle icon) and increase the Depth value. This will give your rope some thickness.
- Add Physics to the Rope:
- You can simulate the physics of the rope using Blender’s built-in physics engine.
- Select the rope object, go to the Physics Properties tab (the bouncing ball icon), and add a Soft Body physics modifier.
- Adjust the settings such as Mass, Stiffness, and Damping to achieve the desired behavior.
- Connect the Rope to the Pulley:
- Position the rope and pulley objects where you want them in your scene.
- Use Blender’s constraints to connect the rope to the pulley. Select the rope, then the pulley, and add a “Copy Location” constraint. This will make the rope follow the movement of the pulley.
- You may need to adjust the settings of the constraint to get the desired effect.
- Animate the Pulley:
- To animate the pulley, you can keyframe its rotation.
- Select the pulley object and go to the first frame of your animation.
- Rotate the pulley to the desired starting position.
- Insert a rotation keyframe by pressing I and selecting “Rotation.”
- Move to the desired end frame of your animation, rotate the pulley to its ending position, and insert another rotation keyframe.
- Fine-tune and Render:
- Preview your animation to ensure everything looks correct.
- Adjust any settings or animations as needed.
- Once satisfied, you can render your scene using Blender’s render engine.
Remember that this is a basic guide, and there are many ways to achieve the desired result in Blender. Experiment with different techniques and settings to get the look and behavior you want for your rope and pulley system.
