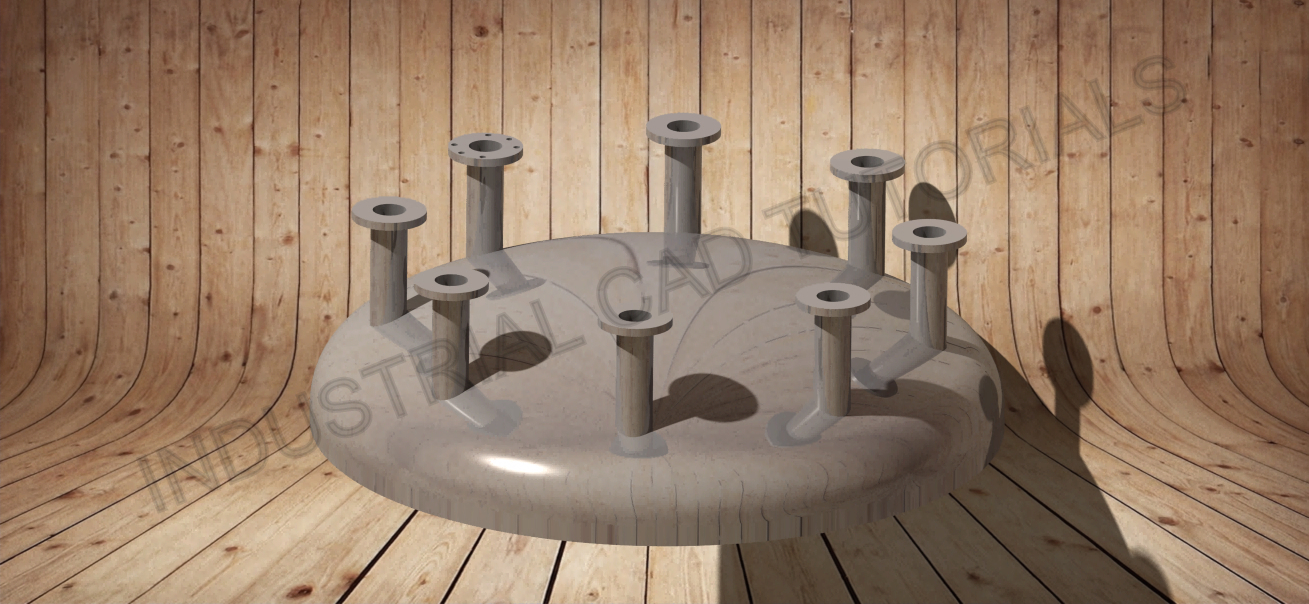
Developing a nozzle orientation in AutoCAD and CATIA involves creating a 2D or 3D representation of the nozzle’s location and orientation on a specific component or equipment, such as a vessel, tank, or pipe. The nozzle orientation is crucial for ensuring proper fluid flow, structural integrity, and compatibility with other components. AutoCAD and CATIA are widely used computer-aided design (CAD) software tools, each with its own capabilities for nozzle design.
Below are general steps for creating a nozzle orientation in both AutoCAD and CATIA:
1. Define the Nozzle Location:
- Start by understanding the equipment or component on which the nozzle will be attached.
- Identify the nozzle’s precise location and the desired orientation on the component’s surface.
2. AutoCAD:
- Create a new drawing or open an existing one in AutoCAD.
- Use various drawing tools like lines, circles, and arcs to create the nozzle representation in 2D.
- Ensure that the nozzle is accurately placed at the desired location and oriented correctly.
- Add dimensions and annotations to provide essential information about the nozzle, such as its size and connection type.
- If necessary, create multiple views of the component to show the nozzle orientation from different angles.
2. CATIA:
- Launch CATIA and start a new Part Design or Generative Shape Design workbench, depending on your preference and complexity of the design.
- Use sketching tools to create the nozzle profile on the component’s surface or create a separate 2D sketch and project it onto the surface.
- Apply constraints and dimensions to define the exact nozzle location and orientation.
- If required, create a 3D solid representation of the nozzle using the appropriate modeling tools.
- Ensure that the nozzle is correctly positioned and aligned with the component.
3. Detailed Design (Optional):
- Add additional features, such as bolt holes, flanges, or reinforcing ribs, to enhance the nozzle’s strength and compatibility with other components.
- Consider adding text or annotations to provide further information about the nozzle, such as its identification number or specifications.
4. Review and Validate:
- Check the nozzle orientation design for any errors or interferences with other components.
- Ensure that the nozzle’s location and alignment meet the required engineering standards and project specifications.
5. Sharing and Collaboration:
- Share the nozzle orientation design files with other team members or stakeholders for feedback and collaboration.
It’s important to note that nozzle design can vary significantly depending on the specific application and industry requirements. More complex nozzle designs, such as those found in pressure vessels or piping systems, may require additional considerations like stress analysis, material selection, and code compliance. For such intricate designs, CATIA’s advanced 3D modeling capabilities are often preferred due to its ability to handle complex surfaces and assemblies. AutoCAD, on the other hand, is well-suited for simpler nozzle representations and 2D drafting tasks.
