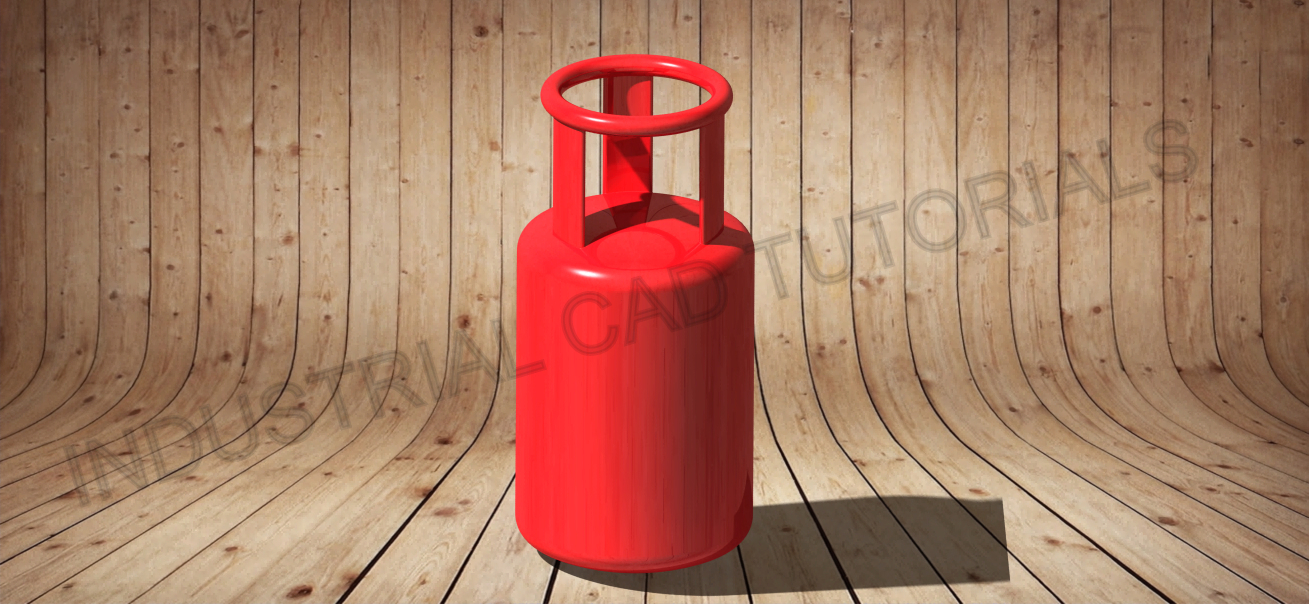
Developing a nameplate in AutoCAD and CATIA involves creating a 2D or 3D representation of a metal or plastic plate used to display essential information, such as the name of a company, product, serial number, rating, or safety instructions. Nameplates are commonly used in various industries for branding, identification, and labeling purposes. AutoCAD and CATIA are powerful computer-aided design (CAD) software tools that can be utilized to create and model these nameplates.
Below are general steps for developing a nameplate in both AutoCAD and CATIA:
1. Define Nameplate Requirements:
- Determine the specifications of the nameplate, including its size, shape, material, text content, and any specific standards or regulations to be followed.
2. AutoCAD:
- Start by creating a new drawing in AutoCAD.
- Use the 2D drafting tools to draw the outline of the nameplate based on the defined size and shape.
- Add text using the “TEXT” command to display the required information on the nameplate.
- Specify the font style, size, and alignment for the text to meet the design requirements.
- If needed, add graphical elements or logos to enhance the nameplate’s appearance.
- Provide accurate dimensions and annotations to convey critical information about the nameplate.
2. CATIA:
- Open CATIA and start a new Part Design or Generative Shape Design workbench, depending on the complexity of the nameplate.
- Use sketches and 2D drawing tools to create the outline of the nameplate.
- Use the “TEXT” tool to add the required text on the nameplate surface.
- Specify the font style, size, and alignment for the text to meet the design requirements.
- Utilize CATIA’s advanced surfacing capabilities to create 3D embossing or engravings on the nameplate if needed.
- Add any additional features or logos required to enhance the appearance of the nameplate.
- Provide accurate dimensions and annotations to communicate critical information about the nameplate.
3. Detailed Design (Optional):
- Add bevels, fillets, or other detailing features to improve the aesthetics of the nameplate.
- Consider adding surface finishes or other details to enhance the realism of the nameplate model.
4. Analysis and Validation:
- Perform visual checks and reviews to ensure the nameplate meets the required design specifications and aesthetic standards.
5. Documentation and Collaboration:
- Create detailed engineering drawings and documentation for manufacturing and assembly.
- Share the design files with relevant stakeholders, such as manufacturers or branding teams, for feedback and collaboration.
Developing a nameplate requires attention to detail to ensure it accurately displays the required information and aligns with the desired aesthetics. Designers with expertise in graphic design and relevant industry standards should be involved in the process. Both AutoCAD and CATIA provide the necessary tools to create accurate and detailed nameplate models, with CATIA being preferred for more complex designs due to its advanced 3D modeling capabilities.

