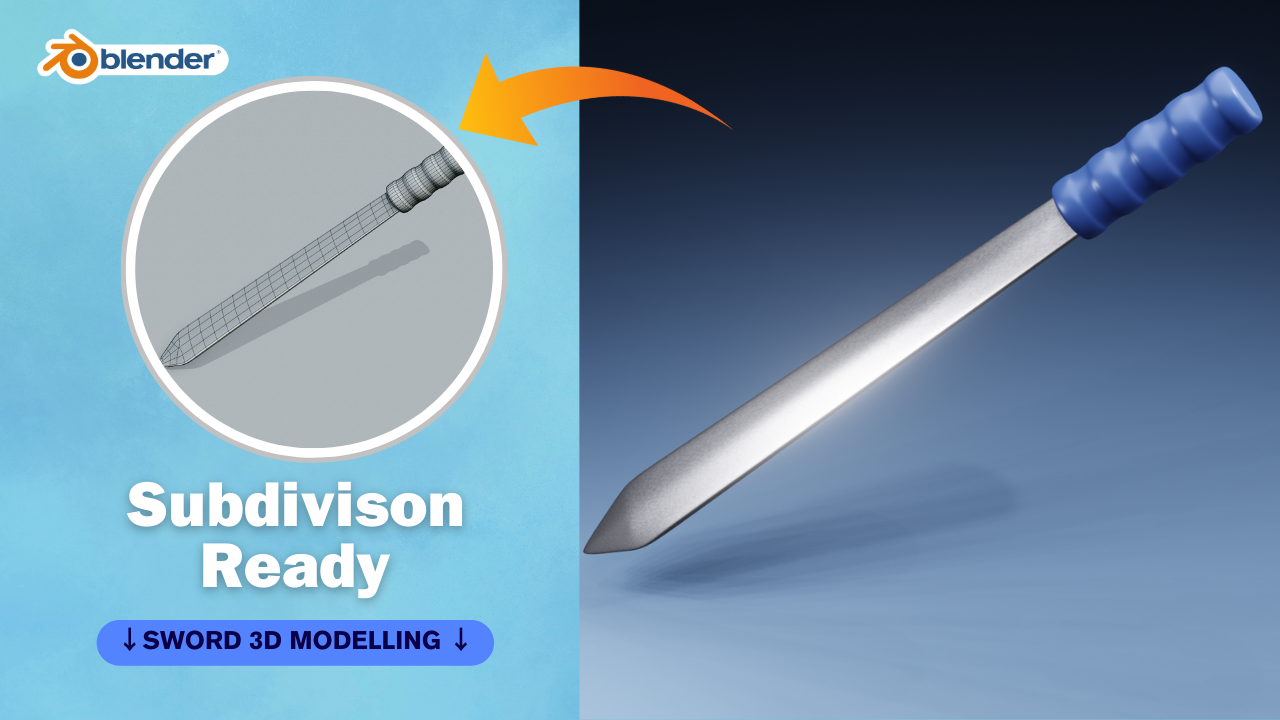
Creating a 3D sword model in Blender involves several steps. Here’s a basic guide to get you started:
- Setting up Blender:
- Download and install Blender from the official website if you haven’t already.
- Open Blender and get familiar with the interface.
- Modeling the Blade:
- Start with a cube (Add > Mesh > Cube).
- Enter Edit Mode (Tab key) and shape the cube into the basic outline of the blade using tools like Extrude (E), Scale (S), and Rotate (R).
- Refine the shape by adding edge loops (Ctrl + R) and adjusting vertices until you achieve the desired blade shape.
- Creating the Hilt:
- Add another cube for the hilt or guard of the sword.
- Scale and shape it to fit the blade.
- You can use loop cuts and extrusions to add details like handguards.
- Adding Details:
- Use additional shapes like cylinders and spheres to add details such as the pommel, grip, and any other embellishments.
- Sculpting tools can also be useful for adding finer details and textures.
- UV Unwrapping:
- UV unwrap your model to prepare it for texturing. This involves laying out the 2D surface of your 3D model so that textures can be applied accurately.
- Texturing:
- Create or import textures for your sword model.
- Apply textures to different parts of the sword using the UV mapping you created earlier.
- You can use Blender’s built-in texture painting tools or external software like Substance Painter for more complex textures.
- Materials and Shading:
- Assign materials to different parts of the sword to control its appearance.
- Use Blender’s node-based shader editor to adjust material properties such as color, reflectivity, and roughness.
- Lighting and Rendering:
- Set up lighting to illuminate your scene. You can use a combination of point lights, spotlights, and area lights to achieve the desired effect.
- Configure your camera angle and settings.
- Render your scene using Blender’s built-in renderer (EEVEE or Cycles).
- Final Touches:
- Review your model from different angles to ensure everything looks good.
- Make any necessary adjustments to the materials, lighting, or composition.
- Once satisfied, you can render your final image or export your model for use in other projects.
Remember, creating a 3D sword model can be quite complex, especially if you’re new to Blender or 3D modeling in general. Don’t be afraid to experiment and take your time to refine your model until you’re happy with the result. Additionally, there are plenty of tutorials and resources available online to help you along the way.
