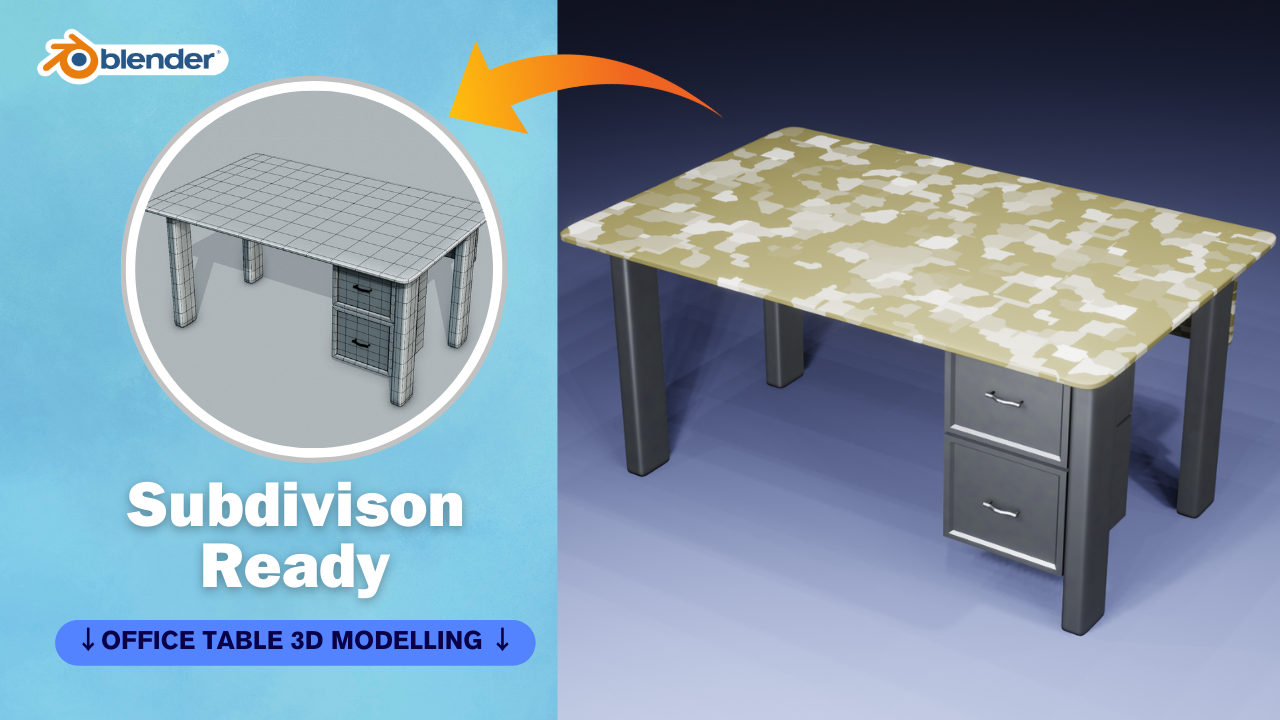
Creating an office table in Blender involves several steps. Here’s a basic guide to get you started:
- Start Blender: Open Blender and make sure you’re in the default scene with the cube selected.
- Delete the Default Cube: Right-click on the cube to select it, then press the “Delete” key on your keyboard and confirm the deletion.
- Add a Plane: Press Shift + A to bring up the “Add” menu, then select “Mesh” > “Plane”. This will create a flat plane which will serve as the tabletop.
- Resize the Plane: With the plane selected, press S to scale it, then type in the desired dimensions for your table’s top (e.g., 2 for 2 meters). You can also manually adjust the dimensions in the object properties panel (shortcut N to toggle visibility).
- Add Legs: There are multiple ways to create legs for your table. You could use cubes or cylinders and shape them accordingly. Here’s a simple method:
- Press Shift + A to add a cube.
- Scale it down to the size you want for the legs.
- Position it at one corner of the table.
- Duplicate the leg (Shift + D), move it to another corner, and repeat until you have four legs.
- Adjust Leg Heights: Select each leg individually and use the “Move” tool (shortcut G) to adjust their heights so they touch the bottom of the tabletop.
- Add Detailing (Optional): You can add additional details to your table such as a support beam between the legs, rounded edges, or textures for a more realistic look. This can be done using Blender’s various modeling tools and texture painting.
- Materials and Textures: Apply materials and textures to your table to make it look more realistic. You can either use pre-made materials or create your own by adjusting the settings in the materials tab.
- Lighting and Rendering: Set up lighting using lamps or HDRi images to illuminate your scene. Once you’re satisfied with the setup, you can render your table by going to the “Render” tab and clicking on the “Render Image” button.
- Final Touches: After rendering, you may want to do some post-processing in Blender’s compositor or export the image to an image editor for further adjustments.
Remember, this is just a basic guide to creating an office table in Blender. You can customize and add more details according to your preferences and requirements. Additionally, there are plenty of tutorials available online that can help you further refine your skills in Blender.
