Creating a cloth simulation in Blender involves several steps. Here’s a basic guide to get you started:
- Open Blender and Set Up Your Scene:
- Open Blender and delete the default cube (if you’re not using it).
- Set up your scene with any objects you want your cloth to interact with (e.g., a table, character, or just an empty scene for testing).
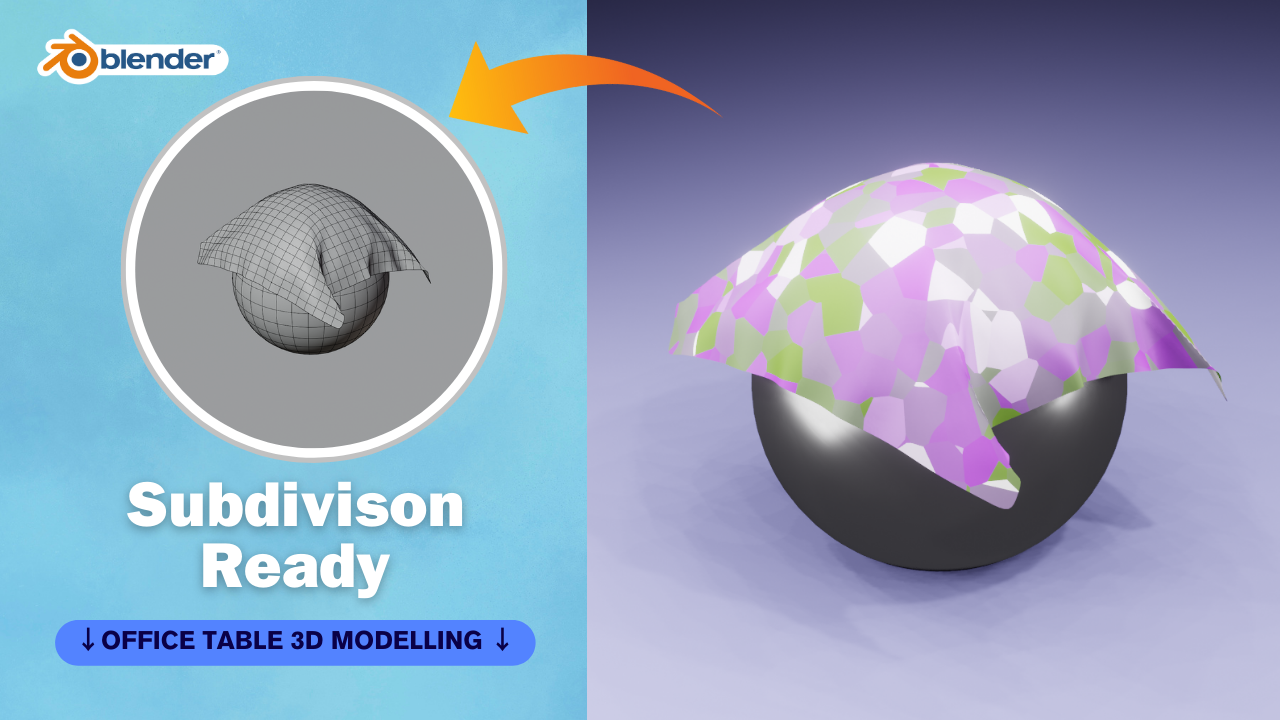
- Add a Cloth Object:
- Press Shift + A to open the Add menu.
- Select “Mesh” and then “Plane” to add a plane to your scene. This will be your cloth object.
- Edit the Cloth Object (Optional):
- Enter Edit mode (Tab) and subdivide the plane a few times (W > Subdivide) to add more geometry for better simulation results. This step is optional but can improve the realism of the cloth.
- Set Up Cloth Simulation:
- Switch to the “Physics” tab in the Properties panel (the one that looks like a bouncing ball).
- Click on “Cloth” from the Physics dropdown menu.
- Adjust the settings according to your needs. Key settings include:
- Quality: Higher quality results in a more accurate simulation but may increase computation time.
- Cloth Collision: Enable this if you want the cloth to collide with other objects in your scene.
- Self Collision: Enable this if you want the cloth to interact with itself, preventing it from intersecting with itself.
- Pinning: If you want certain parts of the cloth to remain fixed (e.g., attached to another object), you can use pinning.
- Optionally, you can also set up Wind Force or other force fields to influence the cloth’s movement.
- Run the Simulation:
- With the cloth object selected, press the “Play” button in the timeline at the bottom of the screen to start the simulation.
- Let the simulation run for a few frames to see how the cloth behaves.
- Adjust and Refine:
- Stop the simulation (press the “Stop” button or the space bar).
- Adjust the cloth settings, object positions, or other factors as needed.
- Repeat steps 4-5 until you’re satisfied with the result.
- Bake the Simulation (Optional):
- Once you’re happy with the simulation, you can bake it to keyframes for faster playback and rendering.
- Go to the “Cache” section in the Cloth settings and click “Bake All Dynamics.”
- Render the Scene:
- Set up your camera and lighting.
- Choose your render settings and render the scene.
That’s a basic overview of creating a cloth simulation in Blender. Experimenting with different settings and techniques will help you achieve the desired result for your specific project.
