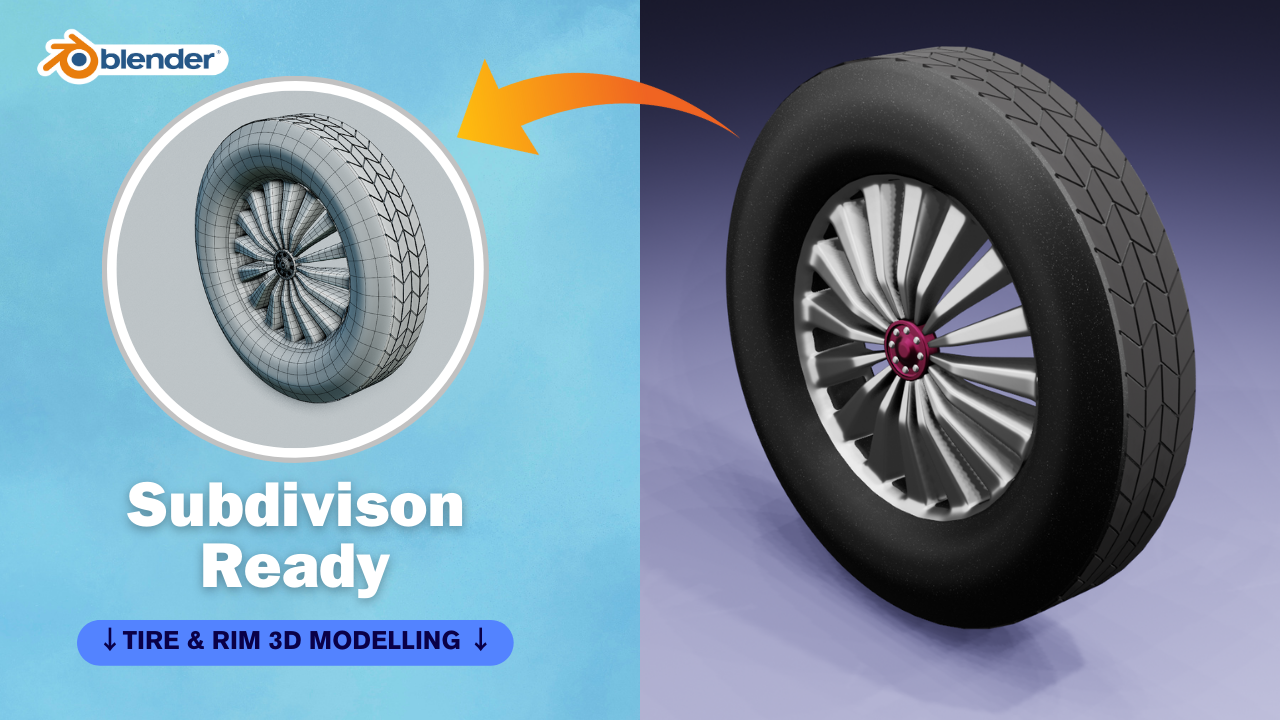
Creating a tire with a rim in Blender involves several steps. Here’s a basic guide to get you started:
- Create the Rim:
- Start by creating a cylinder for the rim.
- Adjust the dimensions and subdivisions to match the desired shape of your rim.
- Use loop cuts and scaling to shape the rim as needed.
- Add any additional details such as bolts or spokes.
- Create the Tire:
- Create another cylinder for the tire.
- Scale it down and position it inside the rim.
- Adjust the dimensions to match the desired thickness of the tire.
- Add loop cuts to the tire to create tread patterns or other details.
- Combine and Refine:
- Position the tire cylinder inside the rim cylinder.
- Adjust the position and size until the tire fits snugly within the rim.
- Refine the shape and details of both the tire and rim as needed.
- Materials and Textures:
- Apply materials to both the rim and tire.
- Use textures or shaders to add realism to the materials, such as adding a rubber-like texture to the tire and a metallic texture to the rim.
- Rendering:
- Set up lighting and camera angles for your scene.
- Adjust rendering settings as needed.
- Render your final image or animation.
Here are the steps broken down into more detail:
- Creating the Rim:
- Open Blender and delete the default cube by selecting it and pressing X, then Enter.
- Add a cylinder mesh by pressing Shift + A > Mesh > Cylinder.
- In the properties panel (usually on the right side), adjust the number of vertices, radius, and depth to create the basic shape of the rim.
- Enter edit mode by pressing Tab and adjust the shape further using tools like scale, extrude, and loop cuts (Ctrl + R).
- Add any additional details such as spokes or bolts by modeling them separately and then attaching them to the rim.
- Creating the Tire:
- Follow similar steps as above to create a cylinder mesh for the tire.
- Scale it down and position it inside the rim.
- Adjust the dimensions to match the desired thickness of the tire.
- Use loop cuts and proportional editing to create tread patterns or other details on the surface of the tire.
- Combining and Refining:
- Position the tire cylinder inside the rim cylinder.
- Adjust the size and position until the tire fits snugly within the rim.
- Use sculpting tools or additional modeling to refine the shapes and details of both the tire and rim.
- Materials and Textures:
- Select the rim and add a new material in the materials tab of the properties panel.
- Adjust the material properties such as color, roughness, and metallicness to achieve the desired look.
- Repeat the same process for the tire, adjusting the material properties to create a rubber-like appearance.
- Rendering:
- Set up lighting by adding light sources to your scene (e.g., point lights, area lights).
- Adjust the camera angle and composition for your final render.
- In the render settings tab of the properties panel, adjust settings such as resolution, sampling, and output format.
- Click on the “Render” button to render your final image or animation.
