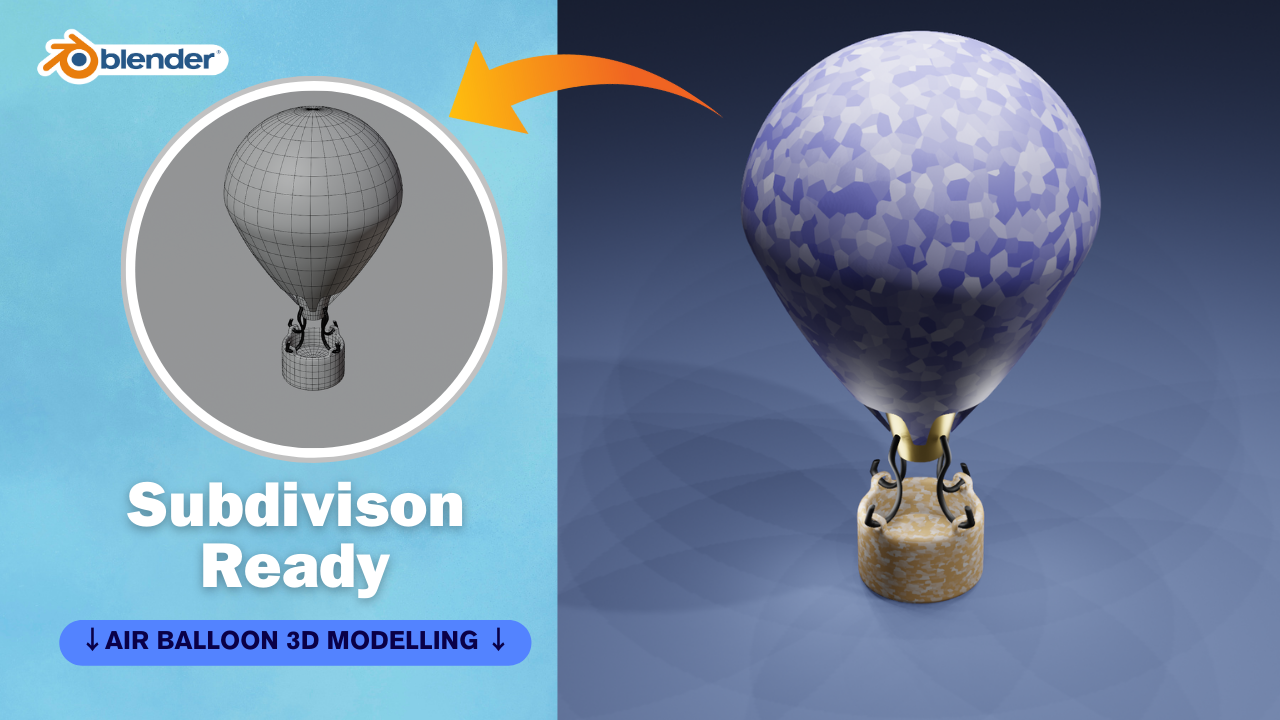
Creating a 3D hot air balloon in Blender can be a fun project. Here’s a step-by-step guide to creating a simple hot air balloon model:
- Open Blender: Open Blender and start a new project.
- Delete Default Objects: Press A to select all default objects, then press Delete or X to delete them.
- Add a Sphere: Press Shift + A and select Mesh > UV Sphere to add a sphere to the scene. This will be the main body of the balloon.
- Scale the Sphere: With the sphere selected, press S to scale it up to the desired size for the balloon.
- Shape the Balloon: Enter Edit Mode by pressing Tab, then select the top vertices of the sphere (you can use proportional editing with O to make it easier), and scale them down to create a tapered top for the balloon.
- Create the Basket: Add another UV Sphere (Shift + A > Mesh > UV Sphere) for the basket. Scale it down to an appropriate size for the basket and move it below the balloon.
- Edit the Basket: Enter Edit Mode for the basket (Tab) and shape it into a basket shape. You may want to use extrusions (E) and scaling (S) to achieve the desired look.
- Add Details: You can add details such as ropes connecting the basket to the balloon. You can do this by adding cylinders (Shift + A > Mesh > Cylinder) and positioning them appropriately.
- Materials and Textures: You can apply materials and textures to your balloon and basket to make them look more realistic. You can do this in the Shader Editor by creating new materials and adjusting their properties.
- Lighting and Rendering: Set up your lighting and camera angles for your scene. You can add lights (Shift + A > Light) and adjust their properties in the Properties panel. Once you’re happy with the setup, you can render your scene by pressing F12.
- Optional: If you want to add more details such as a burner or flags, you can do so using similar techniques.
Remember, Blender provides a wide range of tools and options for creating 3D models, so feel free to experiment and customize your hot air balloon to your liking.

