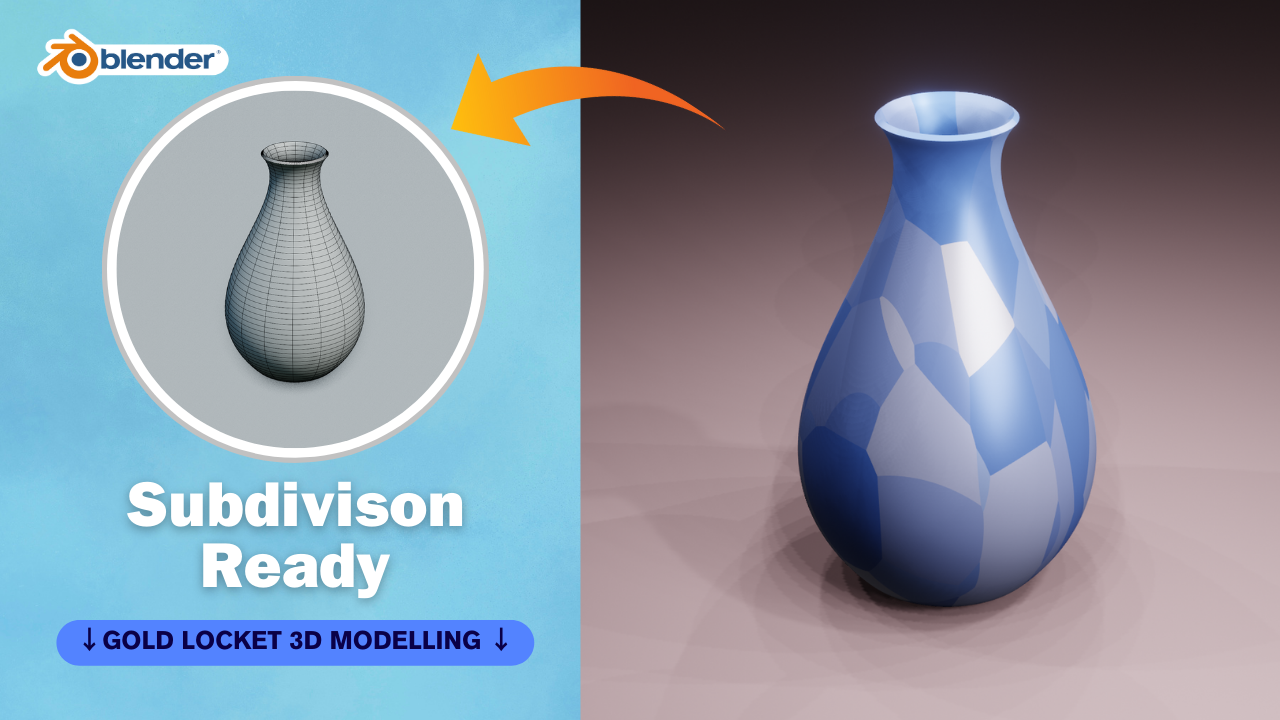
Creating a flower pot 3D model in Blender involves several steps. Here’s a basic guide to get you started:
- Open Blender: Launch Blender on your computer.
- Set Up Scene: By default, Blender opens with a cube. You can delete this cube by selecting it and pressing the “Delete” key or “X” on your keyboard.
- Add a Cylinder: A cylinder can serve as the base shape for your flower pot. Press Shift + A and choose “Mesh” > “Cylinder.” This will add a cylinder to your scene.
- Resize the Cylinder: You may need to adjust the size of the cylinder to better fit the proportions of a flower pot. Select the cylinder and press “S” to scale it. Move your mouse to resize the cylinder to the desired size and left-click to confirm.
- Edit the Cylinder: You might want to give the cylinder more segments to make it smoother. With the cylinder selected, go to the “Object Data Properties” tab (the one that looks like a triangle) in the right-hand panel. Under “Vertices,” increase the number in the “Vertices” input box to add more segments to the cylinder.
- Shape the Cylinder: To make the cylinder look more like a flower pot, you can deform it. In Edit Mode (press Tab), select the top faces of the cylinder. Then, press “S” to scale them inward to create the opening of the flower pot.
- Extrude the Rim: With the top faces still selected, press “E” to extrude them upward. This will create the rim of the flower pot.
- Smooth the Edges: To smooth out the edges of the flower pot, you can add a “Subdivision Surface” modifier. With the flower pot selected, go to the “Modifiers” tab in the Properties panel, click “Add Modifier,” and choose “Subdivision Surface.” Adjust the levels of subdivision to your liking.
- Add Texture: You can add textures to your flower pot to make it look more realistic. In the “Shading” workspace, you can create or import textures and apply them to your model.
- Final Touches: Make any final adjustments to the shape, size, or materials of your flower pot as needed.
- Render: Once you’re happy with your flower pot model, you can render it by going to the “Render” tab and clicking “Render Image” or “Render Animation.”
- Save Your Work: Don’t forget to save your Blender file (File > Save As) so you can come back to it later if needed.
This is a basic guide to creating a simple flower pot in Blender. As you become more familiar with Blender, you can explore more advanced techniques and features to enhance your models further.

