Creating a polished aluminum material design in Blender involves crafting a highly reflective and metallic material that emulates the characteristics of real polished aluminum. Polished aluminum is commonly used in various design fields, including automotive, industrial, and product rendering, due to its sleek, reflective, and metal-like appearance. To achieve a convincing polished aluminum material in Blender, you need to consider texture, shading, lighting, and rendering techniques. Here’s an introduction to the process:
- Texture and Shader Setup:
- Begin by setting up a material in Blender’s Shader Editor.
- Create or import texture maps, including a diffuse map (for color and reflectivity), a specular map (for controlling reflectivity variations), and a normal map (for surface imperfections).
- Utilize a glossy shader or the principled shader as a base for the material. These shaders work well for creating metallic surfaces like polished aluminum.
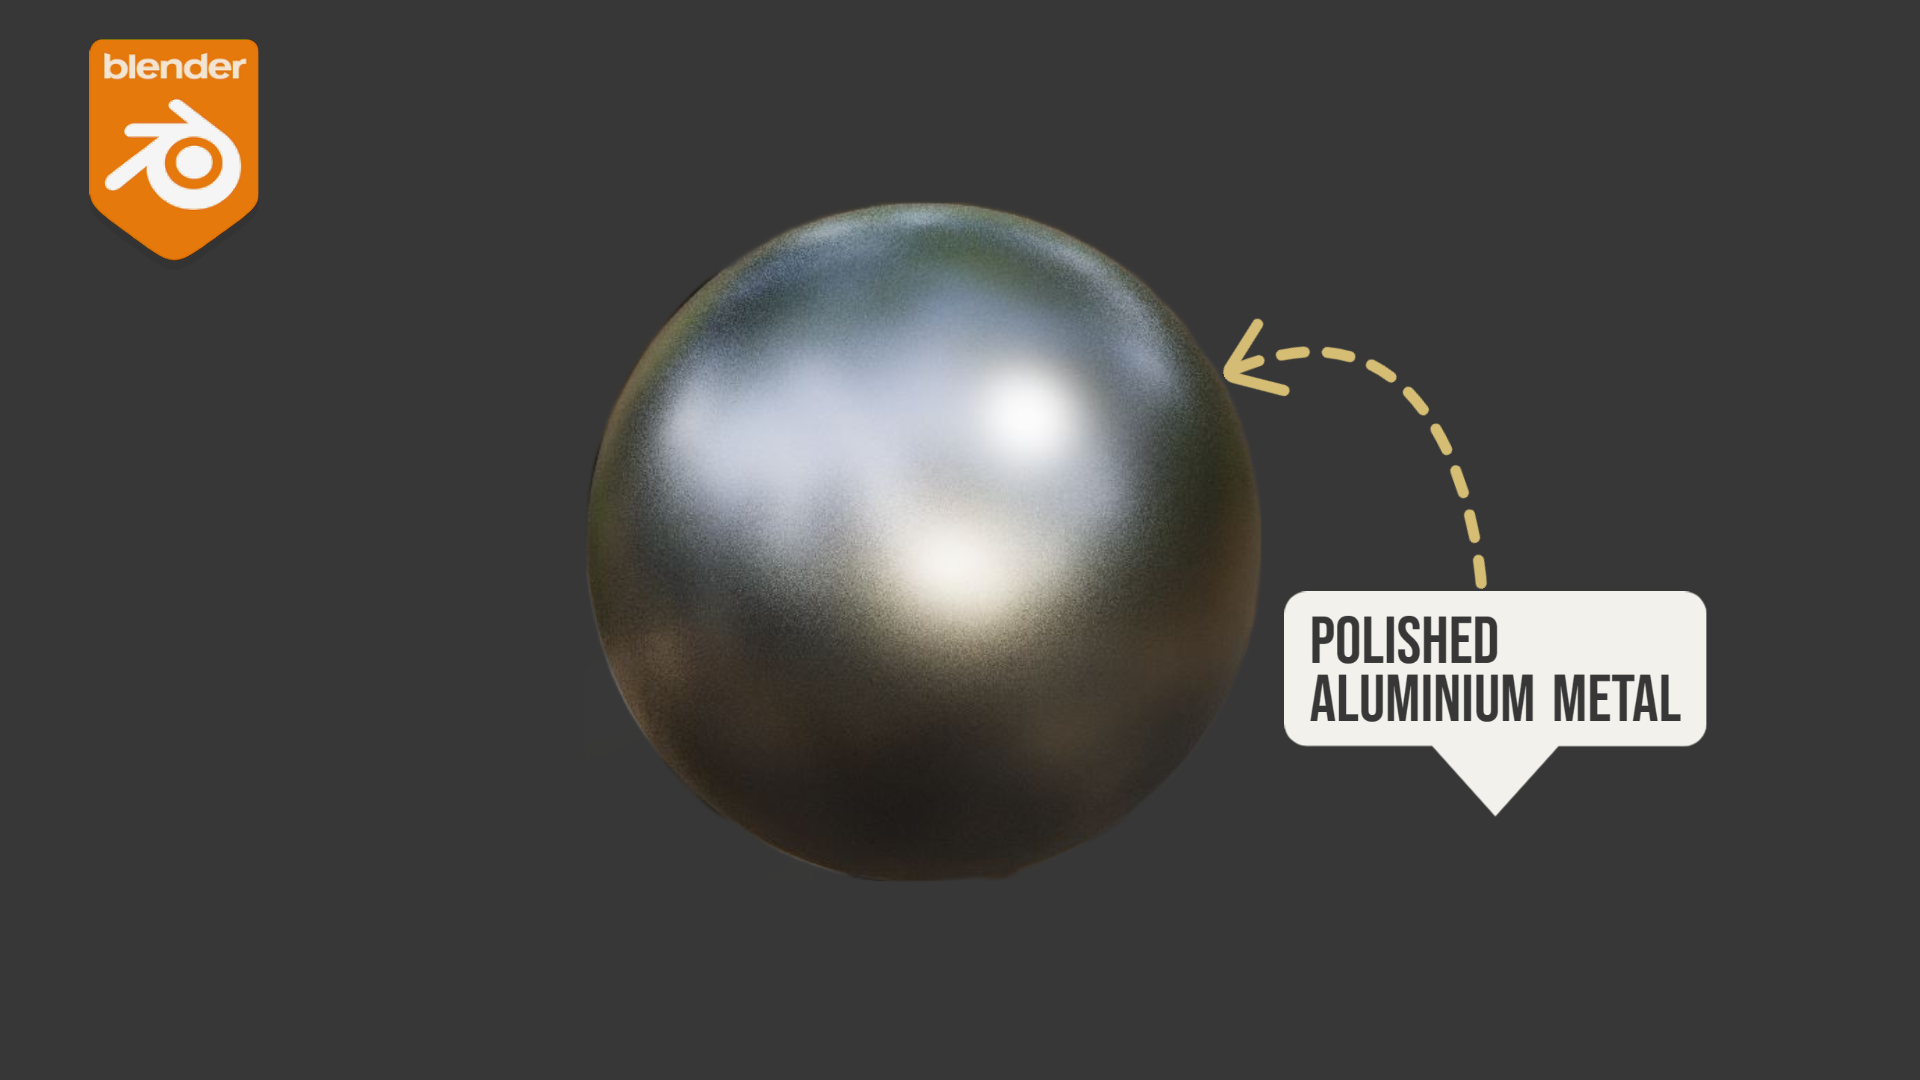
- Adjust the roughness parameter: Polished aluminum has low roughness, resulting in high reflectivity. Set the roughness value close to zero for a mirror-like finish.
- Color and Reflectivity:
- Polished aluminum typically has a silver or grayish color. Adjust the color of the material by controlling the base color of the shader.
- Reflectivity is a key attribute of aluminum. Use the specular map to control areas with different levels of reflectivity. Highlights should be bright and sharp, while less reflective areas should be darker.
- Normal and Bump Mapping:
- Apply a normal map to add subtle surface imperfections and details to the aluminum material. This enhances realism by simulating fine scratches and dents.
- Bump mapping can also be used to create additional surface details, such as brushed or machined patterns on the aluminum.
- Environment and Lighting:
- Realistic lighting is crucial for achieving a polished aluminum look. Employ HDR (High Dynamic Range) environment maps to provide complex and accurate lighting reflections on the material.
- Place lights strategically to emphasize reflections and highlights on the aluminum surface.
- Post-Processing:
- Consider using compositing and post-processing techniques to enhance the final appearance of the aluminum material, such as adding bloom or glare effects to heighten realism.
- Optimization and Rendering:
- Ensure that your aluminum material setup is optimized for rendering, as highly reflective materials can be computationally intensive.
- Select a suitable rendering engine in Blender, such as Cycles, which excels at rendering realistic materials with accurate lighting and reflections.
- Testing and Refining:
- Continuously test and refine your material by adjusting parameters like color, roughness, and reflectivity until you achieve the desired polished aluminum appearance.
Creating a polished aluminum material in Blender is a blend of artistic judgment, attention to detail, and an understanding of material design principles. With the right shader setup and a focus on realism, you can create stunning renders that showcase the sophistication and reflective beauty of polished aluminum surfaces in your 3D projects.
