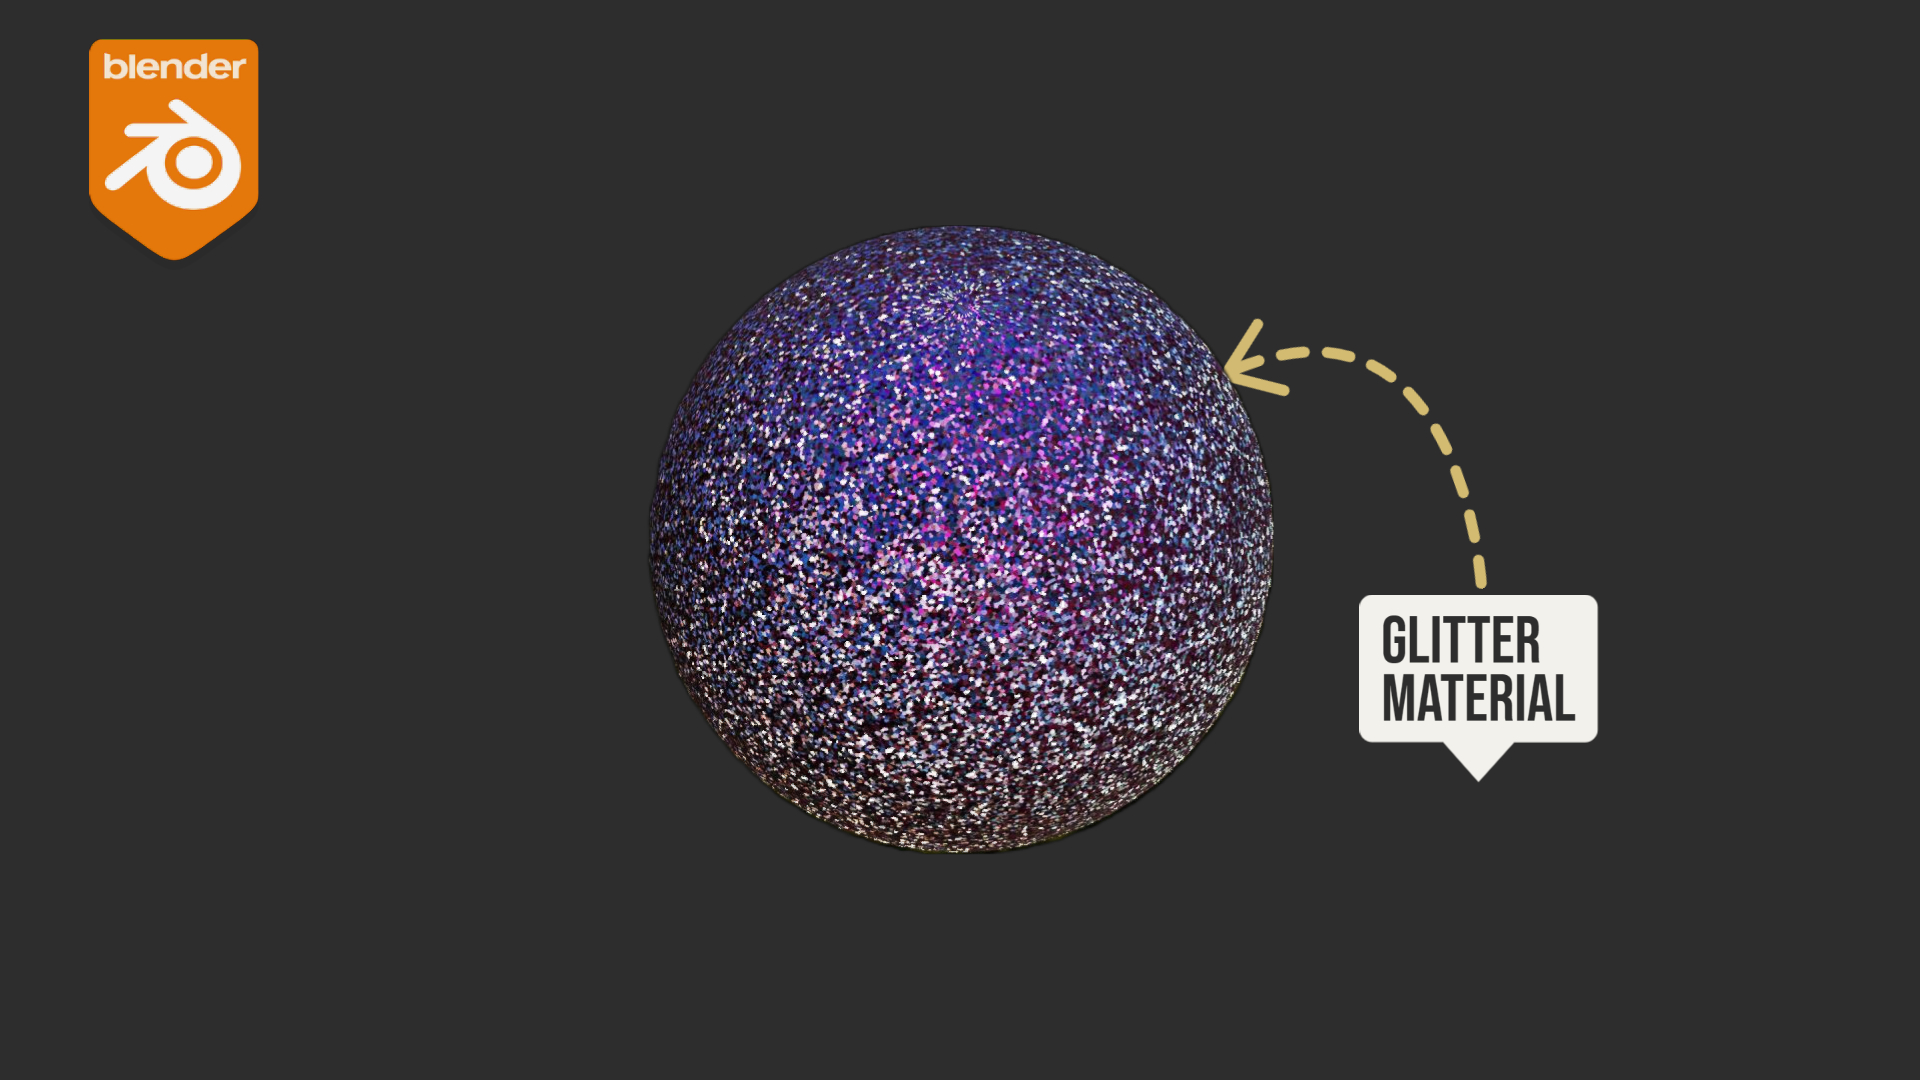
Creating a glitter material design in Blender involves crafting a sparkling and eye-catching material that simulates the appearance of glitter or shimmering particles on various objects or surfaces within a 3D scene. Glitter materials are commonly used in artistic and decorative contexts to add a touch of glamour and sparkle to objects, clothing, makeup, or other elements in 3D scenes. To achieve a convincing glitter material in Blender, you’ll need to focus on several key aspects of material design, including texture, shading, lighting, and rendering. Here’s an introduction to the process:
- Texture and Shader Setup:
- Begin by setting up a material in Blender’s Shader Editor.
- Create or import texture maps, including a diffuse map (for the base color and reflectivity), a specular map (for controlling the intensity of glitter reflections), and a normal map (for simulating the height and depth of glitter particles).
- Utilize a principled shader as a base for the material, as it offers a versatile approach for combining various shader components.
- Glitter Particle Texture:
- The core of the glitter material is a specialized texture that represents the glitter particles themselves. This texture typically consists of small, bright, and colorful points that mimic the look of glitter.
- You can create or source these textures externally. Ensure they have transparency, allowing the underlying surface and other glitter particles to show through.
- Color and Reflectivity:
- Glitter materials often come in various colors and reflect light differently. Adjust the color of the material using the base color parameter.
- Reflectivity should be controlled by the specular map. Glitter particles should appear highly reflective, creating the sparkling effect.
- Normal Mapping:
- Use a normal map to simulate the three-dimensional structure of glitter particles. This imparts a sense of depth to the glitter, making it look more realistic as it interacts with light.
- Environment and Lighting:
- Proper lighting is crucial for achieving a glittery appearance. Use HDR (High Dynamic Range) environment maps to provide realistic lighting and reflections on the glitter material.
- Place lights strategically to highlight the glitter particles, creating sparkling highlights.
- Transparency and Alpha Mapping:
- Glitter particles should have varying levels of transparency. Adjust the alpha channel of the glitter texture to control how much light passes through each glitter particle.
- Post-Processing:
- Consider using compositing and post-processing effects to enhance the glitter material’s sparkle and shimmer in the final render. Techniques like lens flares or glare can be particularly effective.
- Optimization and Rendering:
- Ensure that your glitter material setup is optimized for rendering, as materials with numerous small details (like glitter) can be computationally intensive.
- Choose an appropriate rendering engine in Blender, such as Cycles, to handle the complex lighting and reflections required for glitter materials.
- Testing and Refining:
- Continuously test and refine your material by adjusting parameters like color, reflectivity, and transparency until you achieve the desired glittery effect.
Creating a glitter material in Blender requires a creative approach, attention to detail, and an understanding of how light interacts with small reflective particles. With the right shader setup and attention to realism, you can create dazzling and captivating glitter materials that add a touch of magic to your 3D projects.

