Creating a Oil tank body in Blender involves creating a cylinder mesh and modifying it to suit your design. Here’s a step-by-step guide:
- Add a Cylinder:
- Open Blender and make sure you’re in the default scene with the cube.
- Select the cube (right-click) and delete it by pressing X or Delete.
- Press Shift + A to open the Add menu and select Mesh > Cylinder. This will create a cylinder object at the 3D cursor’s location.
- Adjust Cylinder Parameters:
- After adding the cylinder, you’ll see a set of parameters in the bottom left corner of the screen. Alternatively, you can find these parameters in the bottom left of the viewport.
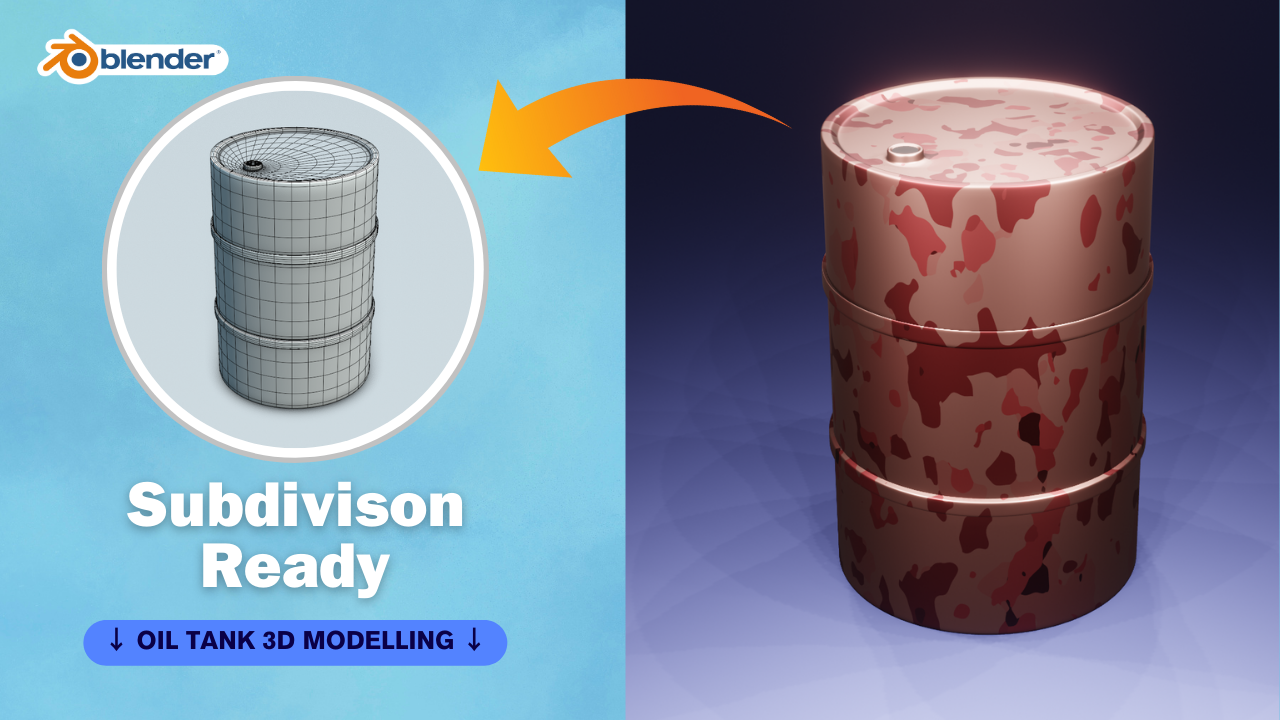
- Adjust the parameters to match your desired tank dimensions. You may want to set the radius, height, and number of vertices according to your design specifications. You can do this by changing the values or dragging the arrows.
- Scale and Position:
- With the cylinder selected, you can scale it further if necessary. Press S to scale, then drag the mouse or type a numerical value.
- Position the cylinder at the center of the scene or wherever you want the tank to be located. You can use the transformation manipulators (the arrows) or press G to grab and move the cylinder manually.
- Edit Mode:
- Enter Edit Mode by pressing Tab or selecting it from the mode selector in the top-left corner.
- Here, you can make more precise adjustments to the tank’s shape. For example, you can use edge loops (Ctrl + R) to add more detail or adjust the topology.
- Add Details:
- To add details like seams, bolts, or other features, you can use extrusions, insets, or additional mesh objects.
- Select faces, edges, or vertices and use tools like Extrude (E), Inset (I), or Bevel (Ctrl + B) to create these details.
- Smooth Shading:
- By default, Blender uses flat shading, which means each face has its own normal. For a smoother appearance, you can switch to smooth shading.
- With the tank selected, go to Object Data Properties (the green triangle icon), and under Normals, select ‘Auto Smooth’. This will smooth out the shading of the tank.
- Materials and Textures:
- Apply materials and textures to the tank to give it a realistic appearance. You can do this in the Shader Editor or using the Material Properties tab.
- Finalize and Render:
- Once you’re satisfied with the tank’s design, you can finalize it and prepare for rendering.
- Set up your lighting, camera, and any other elements you want in the scene.
- Finally, render your tank using Blender’s render engine or any third-party renderer you prefer.
By following these steps, you can create a basic tank body in Blender and customize it according to your needs. Feel free to experiment with different shapes, sizes, and details to achieve the desired result.
